Best Practices for Event Images
Your event header image is the first thing visitors see. It sets the tone for your page. Choosing the right image and formatting it correctly ensures your event looks professional, loads quickly and is accessible to all users.
You can upload and edit your own image by following the steps below or select from a generic library of UC San Diego photos.
Upload your own image
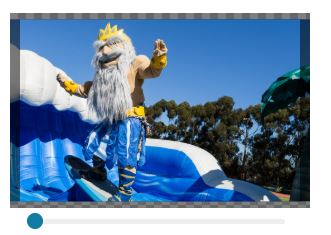
You can upload your own event image by clicking "Upload." Please avoid text-heavy images such as flyers or low quality images. If the image you upload doesn't fit the frame, you can use the image editor after you upload it to drag, reposition or zoom with your mouse wheel or use the slider below the image thumbnail. Only the area inside the transparent frame will appear on the webpage.
- Event Header Image Best Practices
- The recommended image size is 1920 pixels x 1245 pixels (or similar aspect ratio, rectangular in landscape orientation), smaller than 1MB and in JPG or PNG format.
- Keeping images within these limits ensures faster load times and prevents display issues.
- Avoid images with embedded text such as flyers and digital ads (see examples of what to avoid).
- Screen readers cannot parse embedded text.
- Text on graphics do not scale well on mobile.
- Search engines can't reliably read text in images. If the information is important, it won't contribute to search indexing.
- Choose high-contrast and clear images.
- Helps users with low vision or color blindness.
- Add a short description of the image in the “Photo Description” field for accessibility purposes.
- Make it concise and descriptive.
- Avoid phrases like “image of” or “photo of”. Screen readers will already announce it’s an image.
- If your image is only decorative design you can add “” in place of a short description.
- The recommended image size is 1920 pixels x 1245 pixels (or similar aspect ratio, rectangular in landscape orientation), smaller than 1MB and in JPG or PNG format.
Adjust your photo
The platform displays four image layouts, including the event page and various calendar listing layouts. After uploading your photo you can further adjust your photo so that the photo is optimized for the different layouts.
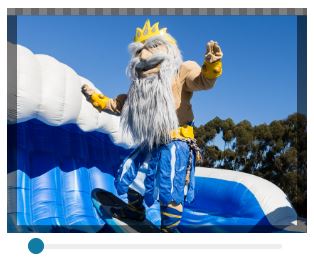
- Click the pencil or cropping icon next to the image.
- Note, clicking the cropping icon will directly open the cropping editor. If you click the pencil, you will need to click "Adjust Cropping" at the top right to open the cropping editor.
- On the "Cropping" page, you will see the following options to adjust your photo based on the web layout it will be used for. You can drag to reposition and zoom with your mouse wheel or the slider below the image.
- Default: Standard event page header
- Featured: Image used if your event is featured on the calendar's homepage
- Rectangle: Similar to default, areas that use the landscape orientation header on calendar listings
- Square: Used in event listings and widgets with square images
- Default: Standard event page header
- After you adjust your image, click "Save Changes" at the bottom of the page. Click "Reset Cropping" if you want to start over and restore the default photo.


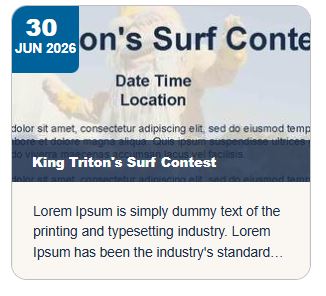
What not to do: too much text in image
It’s best to keep text off images when possible. Here’s why:
- Layout issues: Text that looks fine in one layout may become distorted or cut off in another.
- Readability problems: Overlaid text can be difficult to read, especially when resized or compressed.
- Accessibility barriers: Assistive technologies may not recognize text embedded in images, making content less inclusive.
Keep text in your images to a minimum. Place important details as actual typed text in the event section instead.
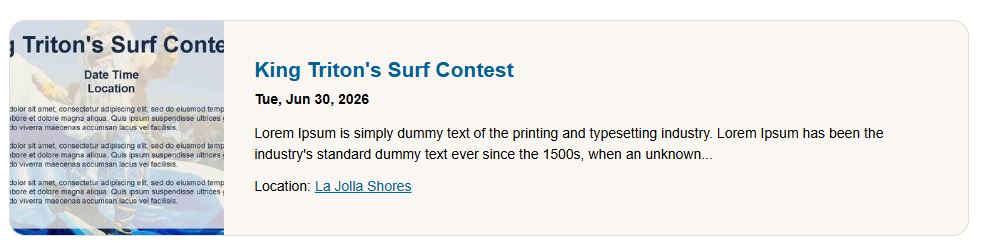
Below are examples of how text on images can behave across different layouts. If you don’t have a suitable image, you can select one from the generic library by clicking "Choose from Photo Library" to view a selection of campus images.
How your text-heavy image will appear online


Select an image from the photo library
If you don't have a suitable image, you can click "Choose from Photo Library" to select from a library of generic UC San Diego images. Find an image you like and click to add to your event page.
These images are already cropped and ready to use in all formats on the calendar website and widgets. These are clean, campus-focused visuals that maintain a consistent and professional look across events.
Need other help?
- Visit the resources page for training materials, forms and links.
- Fill out the calendar contact form for additional support.
- Join the Calendar of Events Support Microsoft Teams channel to post questions and connect with the Calendar team during the launch phase of the new website.