Create Events
- Step 1: Enter Info
- Step 2: Details
- Step 3: Registration
- Step 4: Insights
- Step 5: Publish Event
Event creation is organized into five steps (tabs). This section covers the fourth step, where you can manage event insights and user outreach.
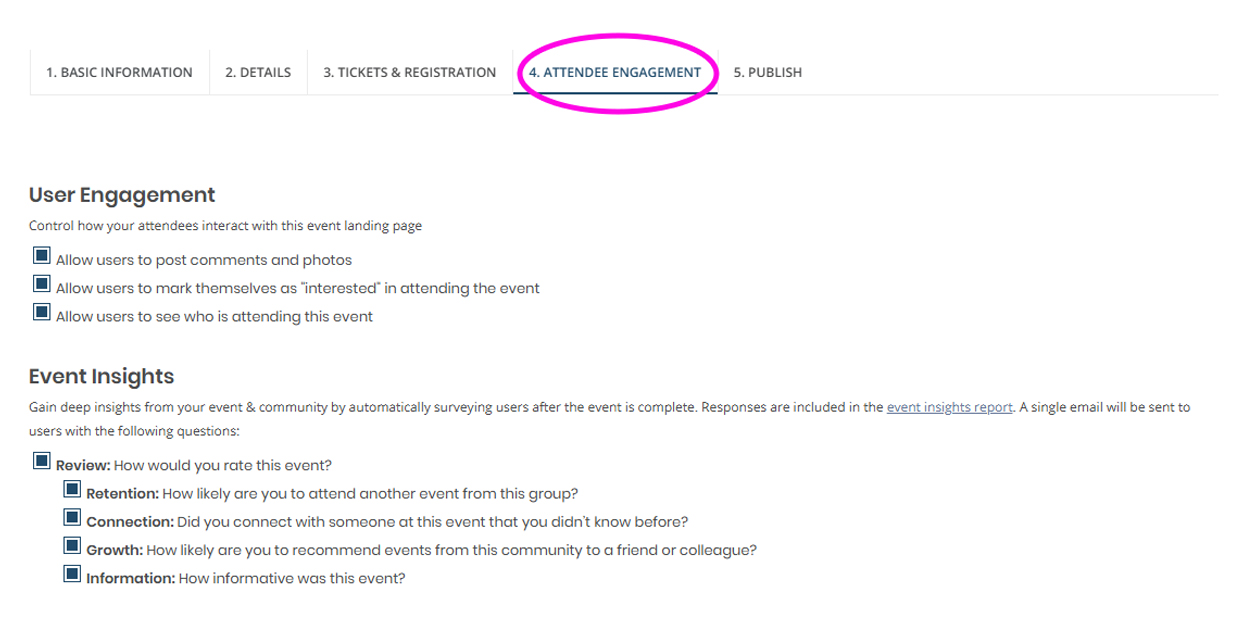
“User Engagement” features have been disabled system wide and cannot be enabled. Please disregard this section.
Collect user insight after the event day. For events using the Localist ticketing system, the platform will send registrants an email with a short survey.
Important! This feature is enabled by default. If you do not want to collect event insights after the event, you can disable this by unchecking the insight options. Click “save” once you have configured your event insights settings.
The feature is limited to the 5 standard questions and currently does not support custom questions. Learn more at Localist’s Event Insights webpage.
To view insights, go to the event’s editing dashboard, click the “metrics” dropdown menu and “insights”.
After you have enabled or disabled your Event Insight settings click 'Save and Continue'.
When using the system’s built-in registration tool, you can keep your attendees informed. Select the Event Promotion tool to send notices to everyone on the attendee list via email or social media.
Registrants will automatically receive a reminder the day before the event. This reminder is not customizable and will include the essential event details. This feature is to send your registrants basic updates and reminders.
If you would like to send robust updates and event info, we recommend using MyEmma to send your outreach. If you don’t have a MyEmma subaccount, please visit Tools, Platforms, and Services and contact servicedesk@ucsd.edu to get started.
See event insights