Create Event: Basic Information
Event creation is organized into five steps (tabs). The information below covers the first step, where you’ll enter basic event details and set key parameters to ensure your event appears in the appropriate locations.
Select the First Tab: Basic Information
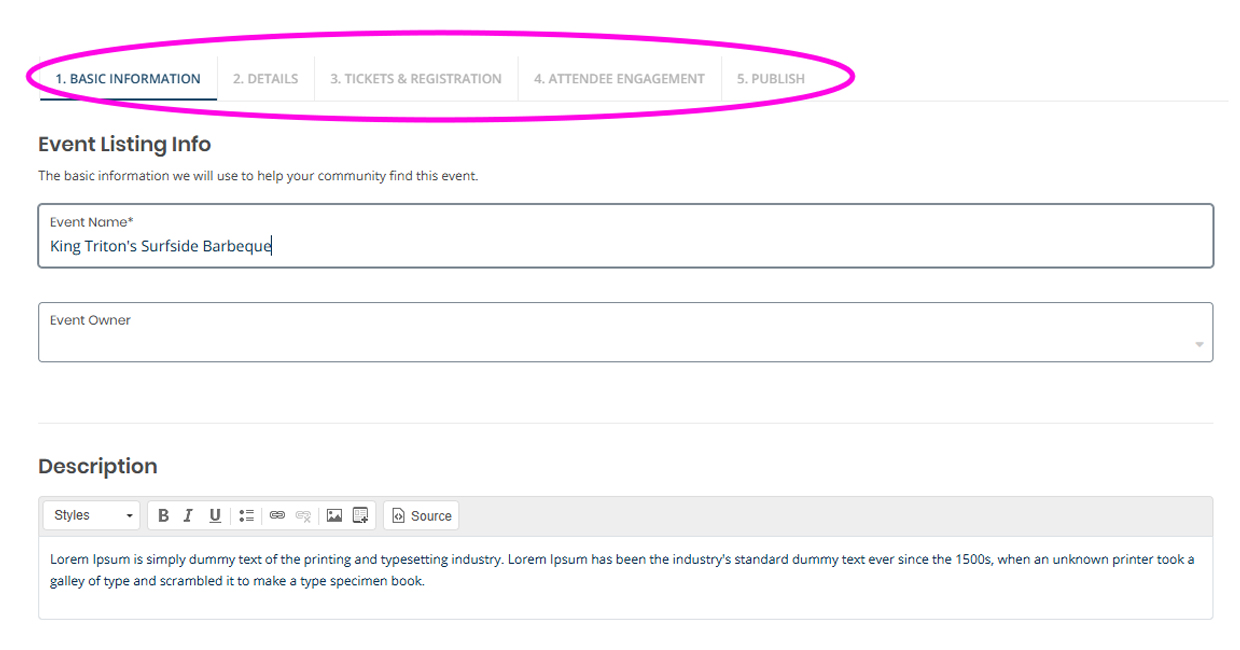
Fill out the following sections and click “Save and Continue” on the bottom right of the screen.
- Add your event name and description.
- Add your event date(s) and times in pacific time (Currently, the system displays all events in Pacific Standard Time. On event pages, times will be adjusted to the user’s browser time zone, but listings and widgets will continue to show Pacific Standard Time.) then click on “Include above in schedule” to save.
- You can set your event to be recurring by selecting an option from the “Repeating” field.
- Recurring events will only be listed once in your dashboard with the various confirmed dates, but will display individual calendar listings on the website.
- If your event is recurring, but details such as speakers, subject matter or locations change between the dates, we recommend creating the event as a “Never” repeating event and copy it as a new event.
- Watch this Recurring events video by Localist.
- Select your experience and add your location.
- Enter in your event location’s name, address and additional details.
- The platform has several key UC San Diego places stored in the system which you can type in and select to auto-generate the details. You can add additional place details in the “Room” field once selected.
- Enter in the event classification information.
Important Requirement! Enter your group name in the 'Group' field to ensure you can access your event after saving or publishing it. If you don’t add a group, your event will not appear in your administration dashboard. Please contact
Calendar Support if you are unable to locate your event.
- Event Type and Audience: Event type and audience classifications help categorize and display your event when users search and sort their event listings.
- Exhibits: For ongoing programs like art exhibits, make sure you tag your event type as “Exhibit” so that your listing feeds into the Exhibit tab on the homepage.
- Student Life Calendar: Be sure to select the "Students" audience if you want your event to appear on the Student Life Calendar.
- Neighborhood: If applicable, you can assign your group to a UC San Diego neighborhood. This helps users find events at a particular venue through the Places pages.
- If your event does not take place in a listed Neighborhood please disregard this field.
- Pending Feature: Event details to display on neighborhood kiosks.
- Tags and Keywords: These are a simple way for grouping and directing your audience to short-term or ultra-specifically categorized events. You can add as many tags and keywords, but you will have to add them one at a time and press “enter” to set each tag.
-
- There is a 255 character limit, but highly recommended limiting the length much less as it will impact the user experience.
- Pre-existing tags and keywords will populate after entering at least two characters.
- 'Save and Continue' at the end of each tab
Step Guide
Step 1: Basic info
Add event information.